How To - Find a Counterfactual
The datapoint editor is dedicated to a variety of datapoint-level analyses, and visualizes individual data points in the loaded data set. One such functionality is the ability to find counterfactuals for a selected datapoint. In the What-If Tool, a Counterfactual is the most similar datapoint of a different classification (for classification models) or of a difference in prediction greater than a specified threshold (for regression models).
-
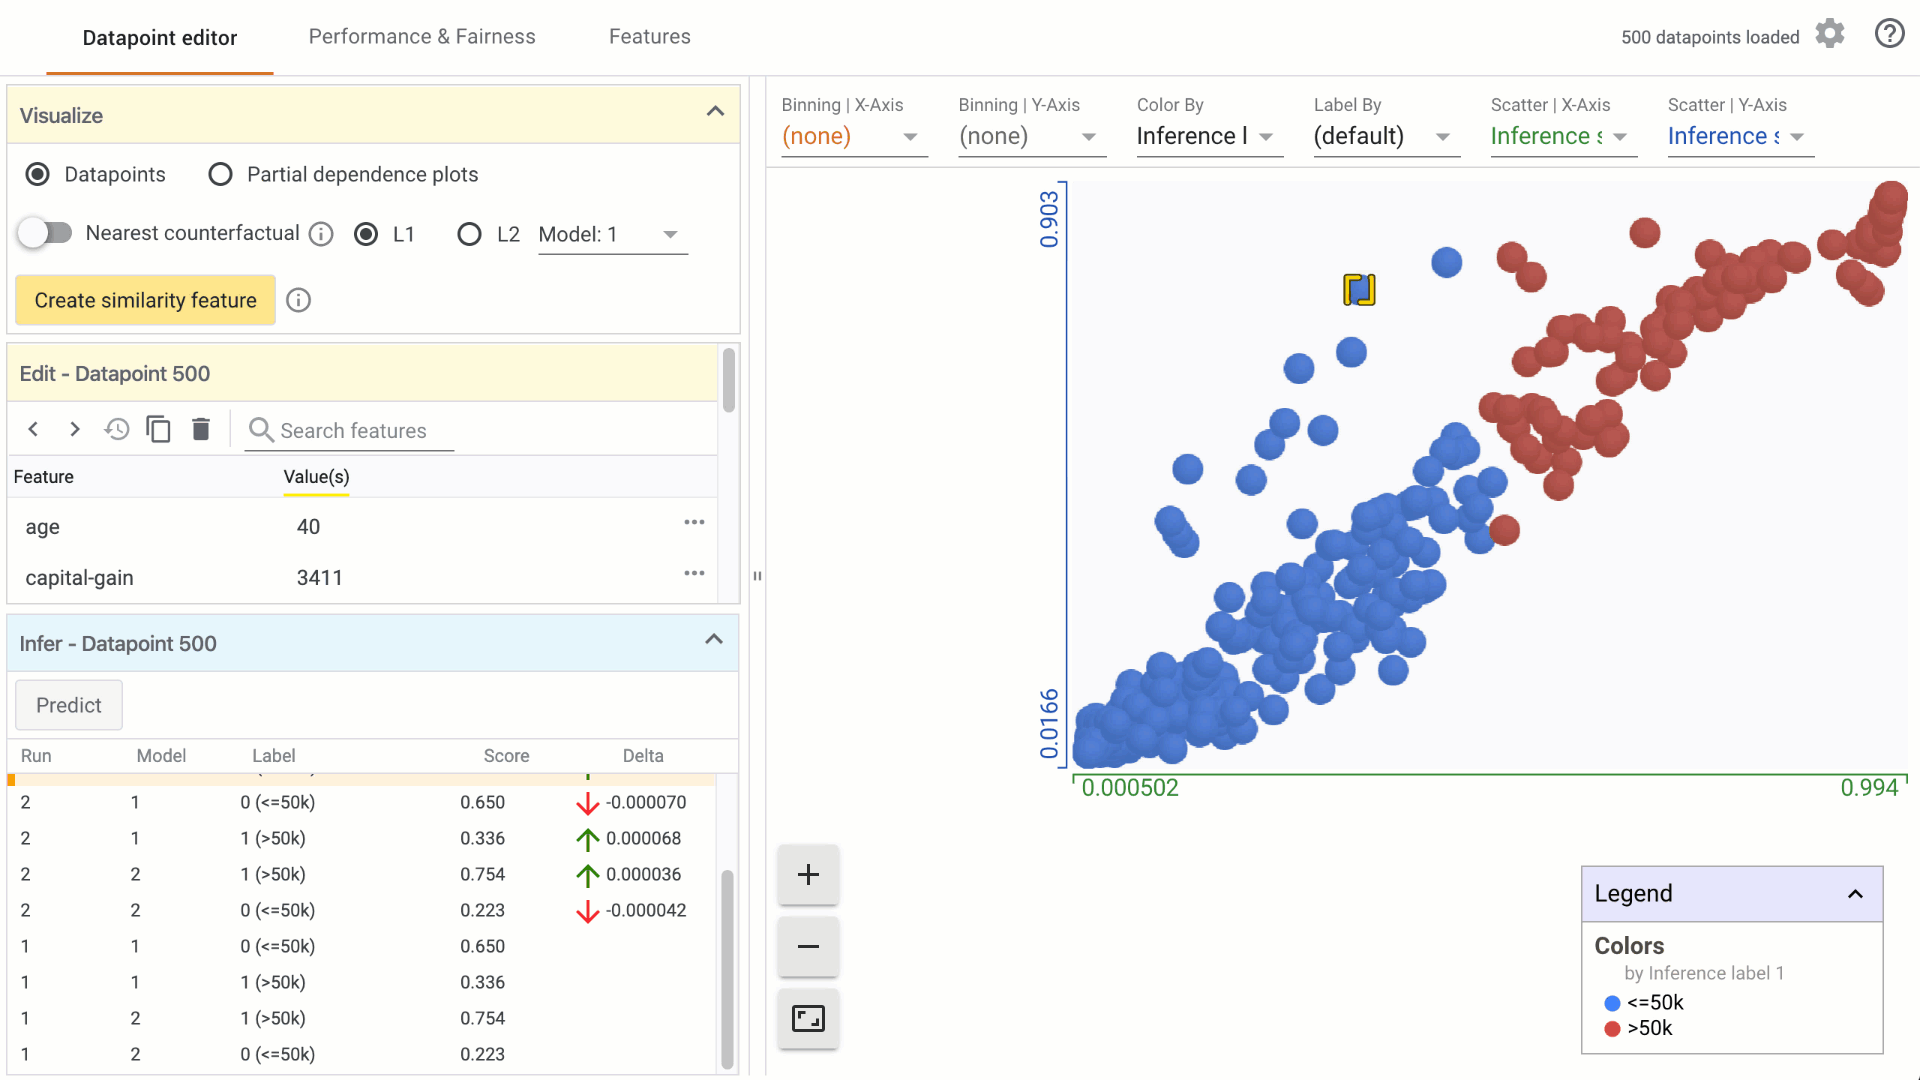
Select a data point of interest in the custom Datapoints visualization by clicking on it. A list of all features and values associated with that datapoint will appear in the Edit module.
-
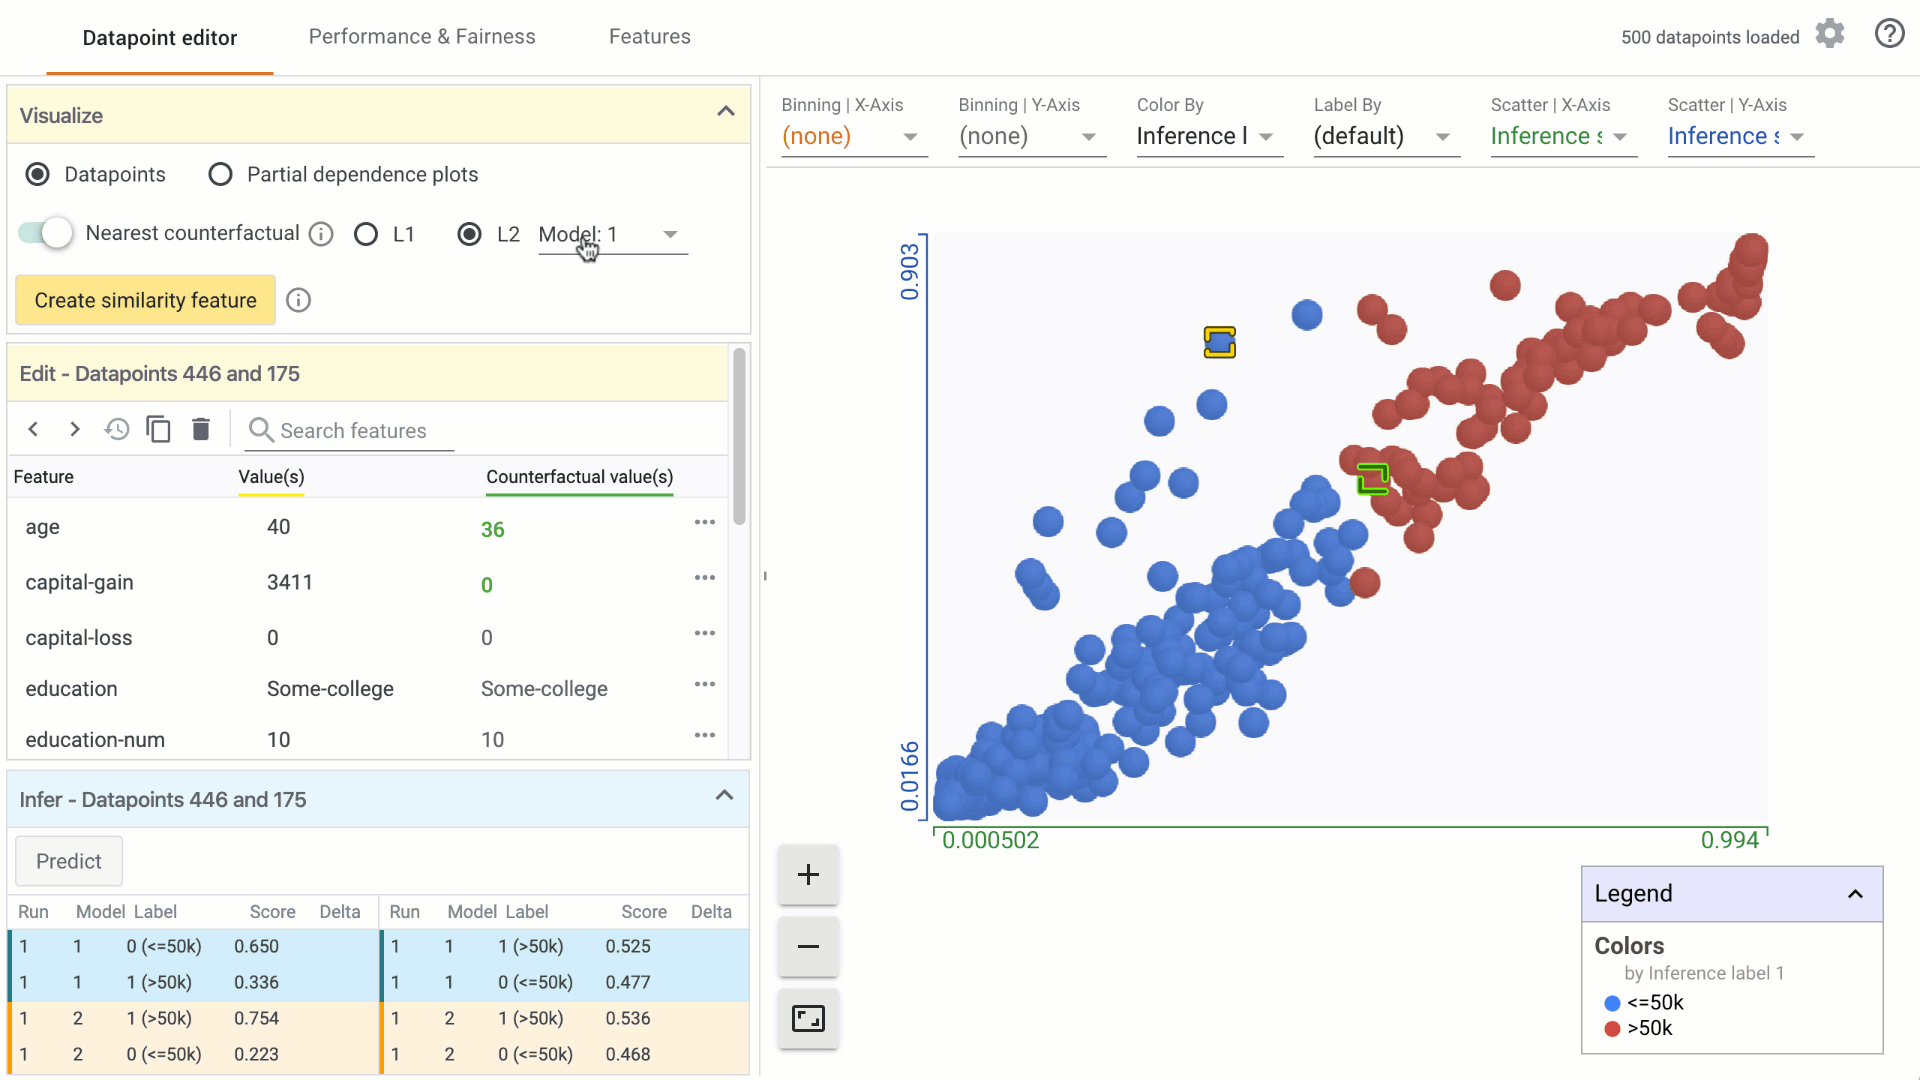
In the Visualize module, turn on the counterfactual toggle by clicking on it: a. In the custom Datapoints visualization, the nearest counterfactual datapoint will be highlighted. b. In the Edit module, a list of feature values associated with the counterfactual will appear alongside the selected datapoint. Feature values that are different from the selected datapoint are displayed in green. c. In the Infer module, the prediction values associated with the counterfactual are displayed alongside the selected datapoint.
-
Change the similarity metric by selecting from the options provided. a. You can select between L1 Norm distance and L2 Norm distance between data points. More information on how these distances are calculated will be included in a follow-on tutorial. b. When using the What-If Tool in notebook mode, you can provide a custom distance metric to calculate distance between datapoints. In that case, it will be used instead of L1/L2 Norm to find the closest counterfactual.
-
Change the model used for prediction results for finding counterfactuals by selecting from the dropdown menu, if comparing multiple models.
- In regression models, change the threshold value using the counterfactual threshold slider. By default, the threshold for finding a counterfactual data point is set to the standard deviation of the prediction scores.


